Category Archives: calculators

Scientific Calculators

If you are studying science or engineering you need a scientific calculator. Even maths students need a scientific calculator these days.
These are calculators with special functions like: sine, cosine, tangents, ex, log, ln, and so on. They also cope with a very wide range of numbers such as billionths through to trillions or more. Ideally you have control over when it switches into scientific notation.

The Hewlett-Packard (HP) range of calculators were always very good. They also had “reverse polish notation” (RPN) which sounds strange but which is far more versatile than most calculators. When you need a scientific calculator you often need to string calculations together – when you’ve figured out one part that enables you to work out the next part. RPN is ideally suited to this because you don’t have to know where you are going to get started. Let me give an example:

Suppose you have two resistors (electronic components) wired in parallel like this:
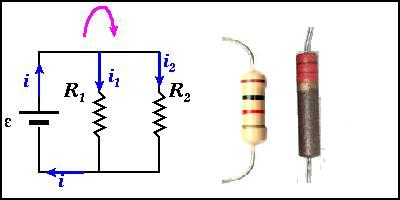
You need to know what the combined resistance is.

You know that I = E/R where I is the amount of current in amps, E is the voltage (volts) and R is the resistance (measured in “ohms”).
If you apply 10 volts to the combination:
you’ll get 10 Enter 1000 divide giving 0.0100 amps through the first resistor and
you’ll get 10 Enter 2200 divide giving 0.0045 amps through the second one
If you add the two you get 0.0145 amps.
Given I = E/R, R must = E/I so
If we do 10 swap divide we get 687.5 ohms.
An RPN scientific calculator allows you to carry on from what you just worked out. It is also amazingly straight forward after you have used it a bit.

To do this with a conventional calculator you would need a pen and paper.
The current through the first resistor, R1, is I1 = E/R1.
The current through the second resistor, R2, is I2 = E/R2.
The total current, I1+I2 = E/R1 + E/R2.
The total resistance is RT = E/IT = E/(I1+I2) = E/(E/R1 + E/R2)
= E/E * 1/(1/R1 + 1/R2) = 1/(1/R1 + 1/R2)
At this point you could do 1 / ( 1 / 1000 + 1 / 2200 ) = and get 687.5 ohms.
You need to think it all the way through before you even get started.

I love RPN scientific calculators so perhaps I’m biased (I’ve used one) but I think they are a great way to understand what is happening in the science / engineering rather than just learning some mathematical formulas.

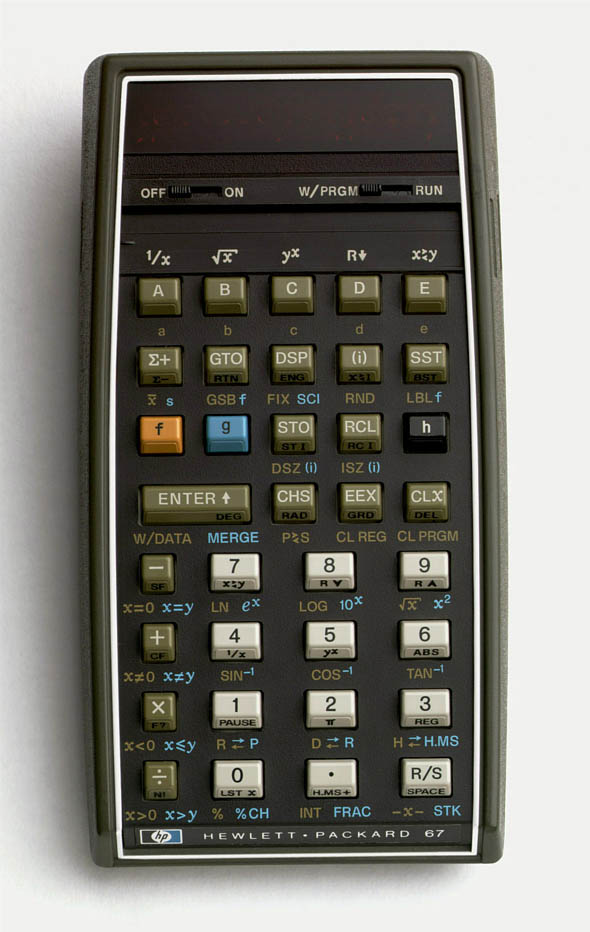
My recommendation for a scientific calculator? My HP67 emulator of course. You can put it in your phone on a laptop on an iPad or a desktop computer. I like having my old favourite scientific calculator right there in my phone at all times. It is nice not having to take anything extra with you.

Failing that, get one of the real HP RPN scientific calculators.

The HP67 and Non-Normalized Numbers

This is an interesting side note for fanatics. You can skip this if you are not a fanatic.

NOTE: If you have a HP97 don’t use non-normalized numbers (NNNs).
The HP97 is a printing version of the HP67. NNNs burn out the print head on a HP97.

The HP calculators used binary coded decimal (BCD) to fit numbers into registers (X, Y Z, T) and into memories.
Internally, numbers were stored in SCIentific notation with a 10 digit mantissa and a 2 digit exponent. When you add a sign to the mantissa and to the exponent you end up with 14 BCD digits: SMMMMMMMMMMSEE. S is 0 if the mantissa or exponent is positive and 9 if negative.

14 BCD digits occupy 15 display positions as the decimal point is always right of the first mantissa digit and, on the HP67, a decimal point occupies a display position of its own.

BCD defines meanings for 0-9 but each four-bit nibble can also hold other values (0x0a – 0x0f in hexadecimal notation).
The display uses values outside of 0-9 to display the messages you see such as “Error” and “Crd”.

Nibble values in registers display as: 0-9 = 0-9; A = “r”, B= “C”, C=”o”, D=”d”, E=”E”, F=” “.

The 14 BCD digits occupy 7 bytes of memory. Each program step occupies 1 byte (even if it is 3 keystrokes).

One way of creating NNNs was to key in program steps, write these to a mag card and then write a data header over the start of the card (f W/Data, insert card, turn the calculator off midway through the write). You could then load the card back in, as data, and see what appeared in the storage registers.

A more interesting way involved getting the program counter outside of steps 000-224 (it would point into a storage register) and then keying in program steps there.

See also:
Holy Joe
my notes from 22 Dec 2005

HP65


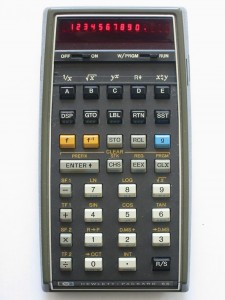
I never had a HP65 but it was what my HP67 was based on and wow it looked like a great calculator.

The keyboard layouts were very similar too.

The f, f-1, and g keys became f, g, and h.

There was extra writing added because the new g key was no longer labelled f-1 :
– on the HP65 f 9 was square root, f-1 9 was un-square root i.e. square
– on the HP67 f 9 was square root, g 9 was square
It was no longer obvious so HP added x2 next to the square root sign.

The writing also moved from above their keys to below their keys.

Aside from a few minor changes on the second row, the keys remained in familiar positions.

You can see a HP67

So, why did people upgrade from the HP65 to the HP67?

There were lots of really good things about the HP67 and just as many reasons. A couple of obvious ones were: more memory and bigger programs. But, for many, these weren’t reasons to ditch the great HP65 – merely reasons to get a HP67 too.

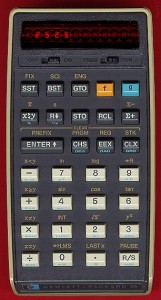
HP25 Calculator


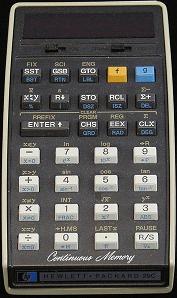
The HP25 was the first HP calculator I had. I got the 25 just before the HP25C came out and Hewlett Packard swapped it over for the newer model. They were great.

The HP25C had “continuous” (CMOS) memory. When you switched the calculator off it remembered the programs you had entered into it. The HP25 (and all the others of the time) forgot the lot when you switched them off.

You can get a java based HP25 emulator from
www.hpmuseum.org


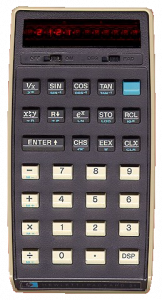
It’s not a HP25 but you can also use our free hp21 calculator emulator.

Or, if your interest includes something more up-market, consider our hp67 calculator emulator.